Monday 22 July 2013

Floorboards

Our floorboards are down and we're really happy with them!  They are feature grade Blackbutt, so have the natural imperfections and grooves of the timber, which will be resin-filled when they are sanded and polished.  The colour and look will end up being slightly different to how they look here in these photos. 

The company we went with is Floors of Distinction and they are really fantastic!  Would highly recommend them - see link on our blog.  After seeing how stunning our brother and sister-in-law's (Craig and Linda's) floors are in their new house, we felt very confident to go with them.  It made things very easy, because we just asked for exactly the same thing.

The sanding and polishing will happen right at the end, after the painters and final trades have come through.

We have floorboards in our hallways and main area and will be having carpet in all the bedrooms, entertainment/TV room, kids' activity room and the offices.


Thursday 11 July 2013

Away with asbestos!

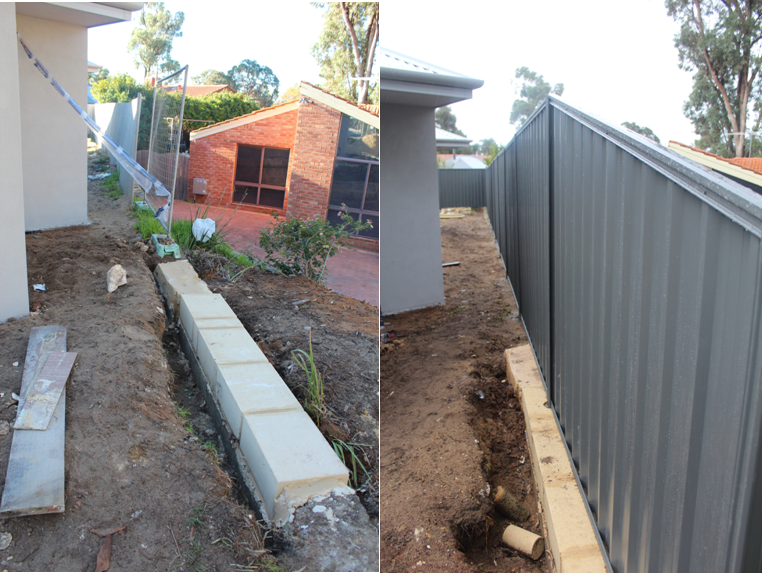
We are very pleased to be rid of the awful and rickety old asbestos fencing surrounding three sides of our block.

We decided to go with a dark colour, rather than light, based on advice from several people - and we're so glad we did.  The colour is Grey Ridge and it works!  We think it looks great and complements our render colour too.  Speaking of render, you will see a few glimpses of it in the photos below.  I will do a separate post later showing the render properly.

Back to the fence!  As well as improving aesthetics, changing the fence was necessary because the old one was actually in the wrong position on two sides of our block - and by no small amount!  It was more than a metre short of where it should've been along both the back right and the right-hand side, meaning we were losing quite a lot of land.  It was actually 1.5 metres short of the corner!

To put in a new fence was, therefore, not a straightforward exercise, as it involved negotiating with neighbours who weren't entirely happy about losing what they thought was their land, but was actually ours.  The corner affected is right where Murray wants to put a vegie patch, so we felt it was important to go through the motions of having it moved - as complicated as it was!

Being at the end of a cul-de-sac also meant that, all up, there were four neighbours we needed to deal with to coordinate all the fencing changes (or five if you include the bricked pool wall done earlier).  And just our luck, one happens to be married to a lawyer, great!  So the whole thing was no easy task.  VERY glad it's over!

The contractor who did the work (Kim Torpy, Garden Goodies) was great and we'd definitely recommend him if you're looking for a new fence - see under 'Links' on our blog for his details.

Here are some before and afters which shows the difference...
 
 Right side fence - showing limestone blocks Murray needed to put in as the base support.


Along the rear right side of the house,
looking down towards where the clothes line will be.


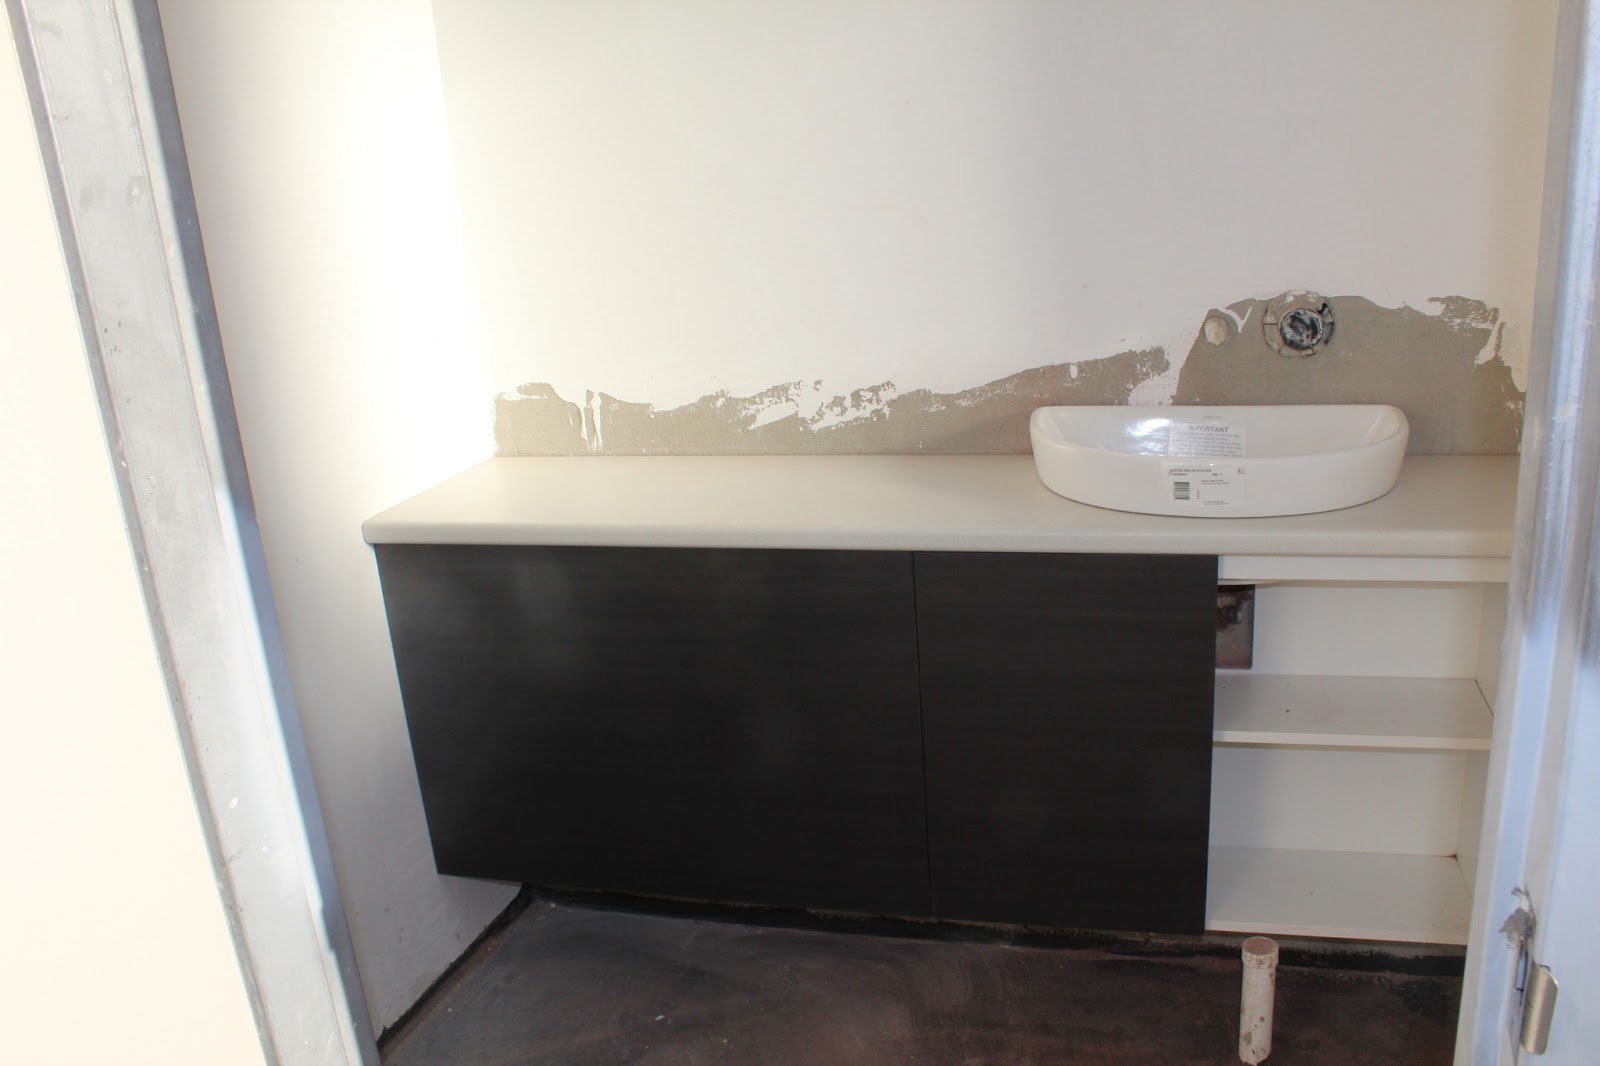
Backyard fencing with our new bricked pool equipment room. We will be getting this rendered when we do the brick wall behind the pool (shown below) and will make them both the same colour.


The height and design of the pool equipment room has been done so that when we add the pool fencing, there won't be any issues with the Council saying someone could climb over the fence from the adjoining retaining wall.  It's higher than we would've liked, but better than having a big ugly glass panel across the pool fencing!  The angled top is so that we can add a little roof without needing guttering.


Garage + preparation for floorboards

Prior to the concreting of the garage, Murray put in pipework for the retic to be fed through to the backyard later.


Then the concrete was poured...


 ~

And in a very exciting development (meaning we're nearing the end?!!!), our floorboards were delivered and the waterproofing of the floors was done.


Friday 5 July 2013

Cabinet update

The rest of the cabinetwork and tiles is still a work-in-progress unfortunately.  For various reasons, things haven't gone entirely smoothly.  Quite a few silly mistakes have been made by the trades involved; some things have been damaged or needing to be replaced; and then there's been general delays because of scheduling problems.  So the end result is that our cabinets and tiles are nearly finished, but not quite!

Here's the pantry - this part is, actually, finished!
(note - don't worry, bench won't be blue, it has plastic on top!
.. and there are handles, but not shown in this photo)

 
The outdoor toilet cabinets are in, minus a door, door handles and the tiling...


Door handles have been fitted to the rest of the bathroom, laundry and kitchen cabinets...

 Ensuite

 
 Kids' Bathroom


 Laundry - minus sink and tiled splashback, still to come
 
Kitchen island bench

We are still waiting on our kitchen island benchtop to be fitted.  The stone guys arrived with it a few weeks ago, only to realise that they'd made it 80mm too short!  So back to the workshop they went to remake it from scratch.  Expensive mistake on their part!  There is one benefit for us though - now we get to have the waterfall ends of the bench without any timber beading/edging along the bottom.  Because the floorboards were due to go in, they couldn't wait for the new benchtop - which means the stone is now being made to sit on top of the floorboards, eliminating the need for beading.  It will look heaps nicer that way!

The other benchtops in the kitchen are in though and look great.  They are Essa Stone New Crystal Salt.


Our side desk and cabinets were also fitted - it's like a little computer nook where we can pay bills etc or kids can do homework, plus where we can store things like keys, sunnies, phones, handbag, school bags, newspapers and maybe put cookbooks in the overhead cupboards.  The design of this side section is probably the most dramatic thing about our kitchen - as we've used the dark feature colour of Laminex Burnished Wood to match the upstand on the island bench.  (note - the coloured wood along the top will be painted).


Monday 1 July 2013

Lights & Fans

The internal downlights and fans have been installed.  We ended up buying some imported downlights through a friend, which saved us some money, and enough to be able to justify using all LED lighting.  They look good - and hopefully they will actually work when we eventually switch them on!

We've used downlights right throughout the house and will have just one feature pendant light over our dining table.  Probably a bit boring, but we like downlights!  We've put ceiling fans in all the bedrooms, plus the two offices.

 Ensuite

Kids' Bathroom

Main Bedroom

Drop-down ceiling over kitchen

Main area (wire hanging down is where the pendant light will go)

We've used three mini downlights either side of the main
living/dining window to project down onto the walls -
in case we can ever afford to hang some nice artwork there.


 One Office

 Other Office

~

And here's the pendant light we're thinking of having...