Monday, 20 May 2013

Cabinets - Part 2 / Tiling - Part 1

The cabinets have been installed in the bathrooms and laundry - very exciting!  We finally get to see what our 2D plans look like in reality.

The laundry is only partially done, because apparently the Laminex product in the colour we chose (Moose gloss) is out of stock, so they are waiting on more to arrive in WA.  Obviously a popular choice - but not sure that's such a good thing?!  The photos below also show the waterproofing in preparation for the tiles to be laid.

Another exciting addition has been the fit-out of our wardrobes.  We ended up using an allowance that was set aside for another (less important) part of the house and put it towards having proper shelving in all the bedrooms.  We are really glad we did - they look amazing and worked out exactly as we wanted.  Certainly not top of the range - they are just a white laminate suspended system - which is the cheaper way to do it, but they look good and should make the spaces much more functional.

[By the way, the paint colour shown in the wardrobes is Vanilla Quake Quarter - the one we weren't sure about.  Unfortunately the cabinets were booked in and had to go ahead, but the painter will repaint the wardrobes if we change our mind on the paint colour.  Looking at it again (many, many times!), it's actually starting to grow on us.  Will need to decide soon if changing minds!]
 

 Shelving in minor robes (is the same in all three)

 
Our wardrobe - Murray's side (left) and Julie's side (right)


 Kids' bathroom (above and below)


Kids' / guest powder room (aka toilet) - minus the toilet!
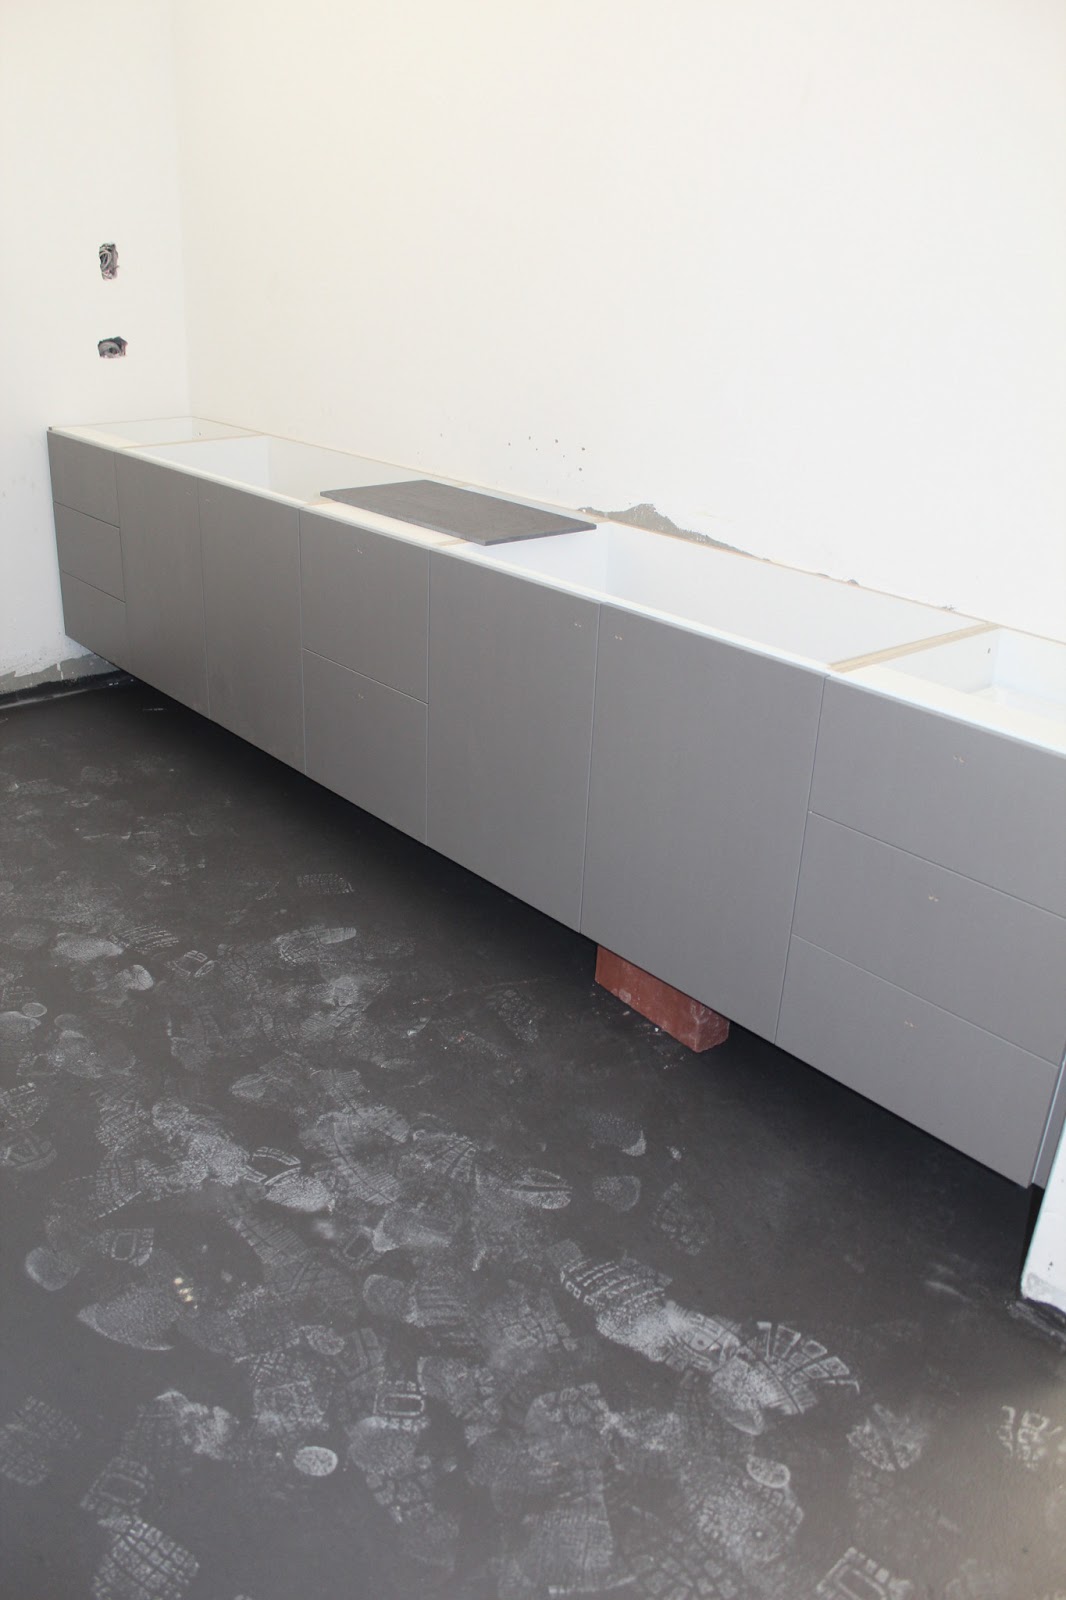

 Ensuite

  
Our toilet / powder room


Start of the Laundry


Here are the tiles delivered and ready to go.  They are all fairly plain - nothing fancy at all, but we didn't want anything that would date, so have tried to keep the tiles as neutral as possible.  The photos below don't show the colours very accurately, but give a rough idea.
 

 Wall and floor tiles for the laundry, kids' bathroom and toilet (will be laid horizontally)


 Wall and feature tile for our ensuite.  The floor tile is a similar colour to the feature tile on the right.


Shot showing our different doors - plain door throughout (left), doors to entertainment room (centre) and doors at end of entry hallway (right, still unpainted).


 Speaking of doors, here's Macey sussing out where her doggy door will be.  She seriously was!
You can see on the left panel where the glass has been cut ready for the frame/door to go in.


Friday, 10 May 2013

Painting & Cabinets - Part 1

(Another back-dated post!)

As much as we love trees (especially Murray), we managed to negotiate with the neighbour to go halves in cutting down a massive White Gum at the front of the house.  It was on the neighbour's land, though mainly affected us.  It looked nice, but was nasty - causing all sorts of dramas with masses of leaves in our gutters (not to mention all over several driveways and the road).  And being self-pruning, it had the potential to cause serious damage to our nice new roof (or passing children!) with falling branches.  So it had to go.

 Tree lopper


Before & After

In other news, the painters have painted the ceilings, doors and door frames.  The white we chose - for ceilings, cornices, skirting, doors and door frames - is 'Vivid White' and we're really happy with how it looks.  Very bright and clean looking, and should create a nice contrast with the walls and floors etc.


The main wall colour is a whole other issue!  We had selected what we thought was the perfect colour (after numerous sample pots!) - called 'Vanilla Quake Quarter'.  BUT the painter painted inside our wardrobes (in preparation for shelving) and I'm not happy!  It's looking far too dark and even a bit mauve!

So we've gone back to the drawing board and called in lots of advice to make a new selection.  How many damn light warm greys can there be??!!  Clearly many dozen!

 
Here's one of many sample colour boards we've painted.
This shows Vanilla Quake Quarter - what we thought was our perfect colour - except not so sure now!  :(


Other progress has been the screeding to the wet areas...

 Kids' bathroom

 Ensuite

Visited the cabinetmaker's workshop last week and was VERY excited to see how our little colour chips are starting to look as the real thing...


A few days later and they arrived at the house, ready to be fitted.


Photos of the cabinet installations in the bathroom, ensuite and laundry will follow this week, plus the shelving fit-out for all the wardroes.

This feels like the fun part!  :)


Friday, 26 April 2013

More internal work

After many months of deliberation over our lighting plan, we finally have it sorted and have confirmed where all our lights will be - the photos below show some of the downlight positions.

This has probably been the hardest process for us, as there was so much conflicting advice from lighting suppliers.  Of course they all want to sell as many lights as possible, so it was a balance between what they were recommending and what we felt was right.

We ended up having four different plans drawn up by separate lighting shops and chose what we thought was the most practical from all of them.  A very long and painful process!  And no matter how we approached it, our lighting and electrical budget was totally blown!  :(

Scary part is, we won't know until the lights are switched on if we've made the right decisions!


The internal doors are in place and look great.  We think the high ceilings with the tall doors really work.
The painters have just finished the white undercoat on them.


  The bath is cemented in place and the kids can't wait to test it out.  Not long now guys!


Next will be our (long awaited!) kitchen and bathroom cabinets, and then the tiling.


Wednesday, 3 April 2013

White walls + windows

We've back-dated this post to when it should've been done .. and are 100% blaming Garden Week (one of Jules' clients that completely took over all our lives for the past few months!).

The white set plaster has been applied to all the walls, which has given the interior a much more 'real' feel.

The exterior has also had a first undercoat in preparation for the coloured render - which won't be done until near the end.  Lucky, because we are still undecided on the colour!

The glass has been fitted to the windows and doors.  And so, we've hit a major milestone - LOCK-UP!  Thankfully it doesn't mean we can't go in and see what's happening - our builder Jason has given us the code to the temporary front door lock, so we are visiting as frequently as ever!

We're grateful for that - as one of many things we've learnt through the building process is that everything has to be checked, double-checked and spoken up about if not right - or forever hold your peace!


No shortage of entertainment for the kids!


Thursday, 21 March 2013

Cornices

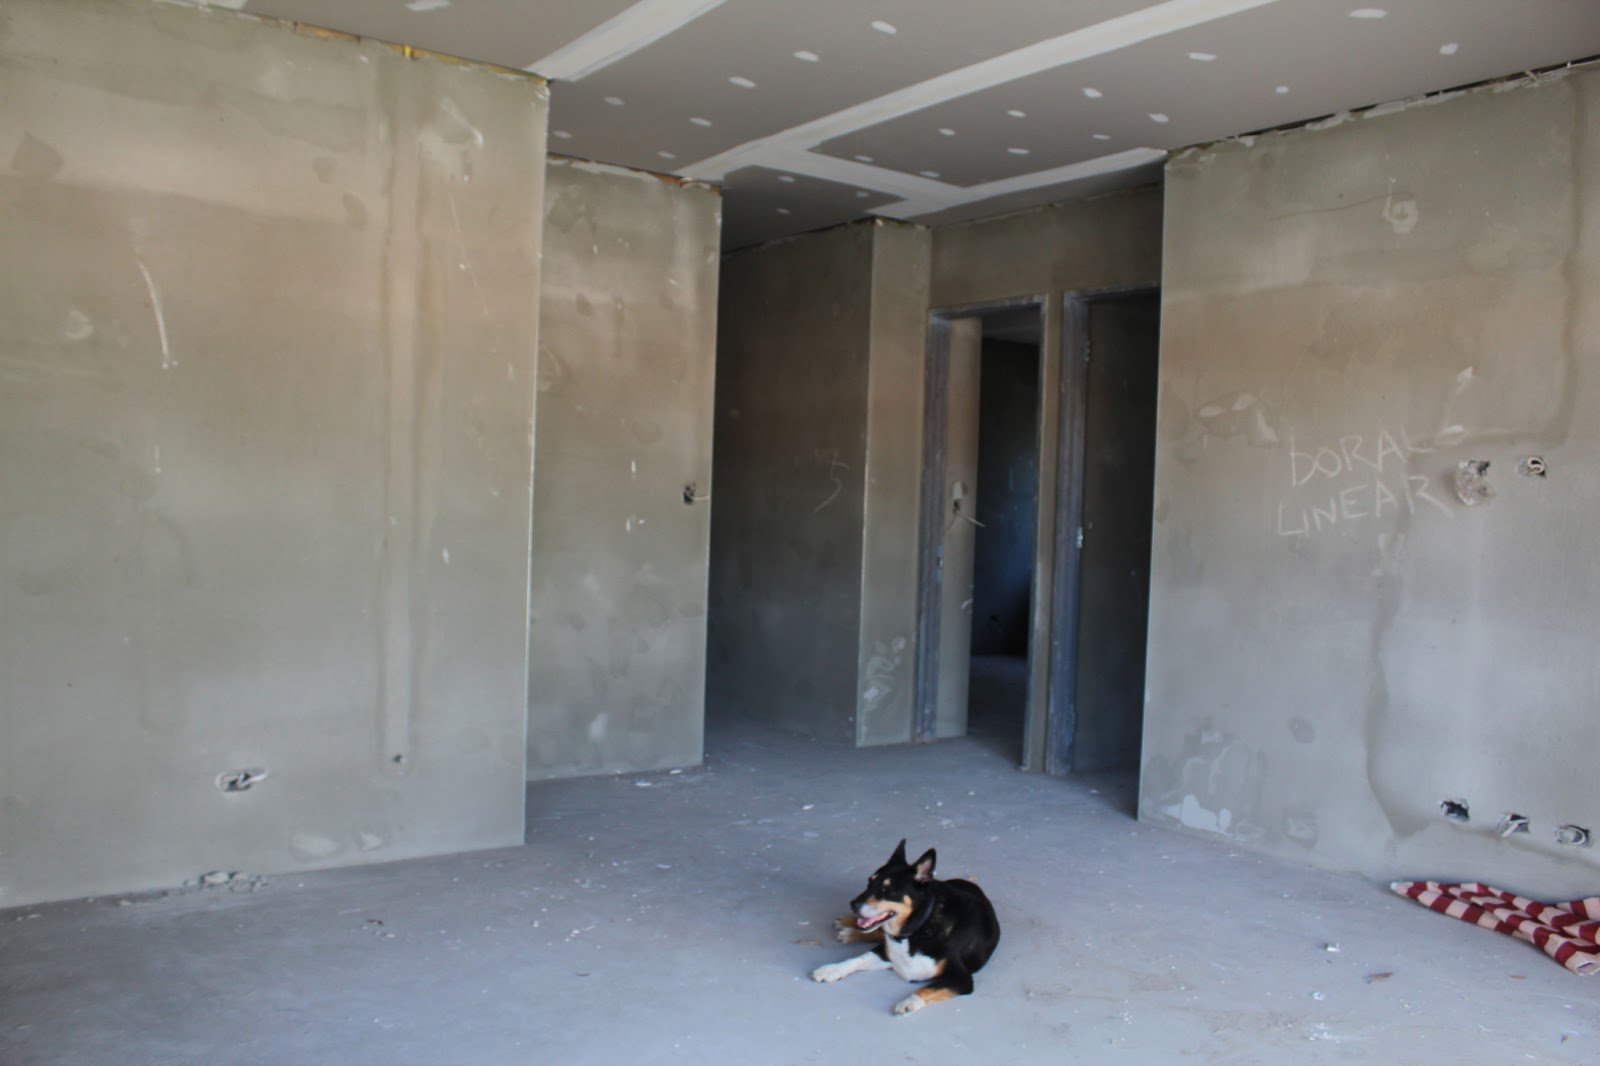
The cornices have been fitted and look great.  Very square and plain.  The cornice is Boral Linear and it works well with our square edge door frames and the overall 'square' look of the house.

The next stage has also been finished, but we haven't quite got around to taking new photos of that yet.  Will post some next week - showing white walls!


 Bathroom


Laundry


Friday, 1 March 2013

We have ceilings!

The plasterers have finished the cement render coat to the internal walls - and the external ones!  So the house is really starting to take shape now - it's much easier to visualise how it will end up looking.

The other exciting milestone is the ceilings!  They went in last week, giving real dimension to the rooms.  We are happy with the height of the ceilings - 36 courses (3.1m) in the main areas and 33 courses (2.8m) in the bedrooms and other rooms.

The kids are enjoying seeing it all come together and are starting to argue about which room is theirs.  They have fun scooting around the place, while Macey just lies there checking it all out.  We think Macey remembers living at Carine before, so she really makes herself at home and marks the territory as hers whenever we're there.  Is very cute!


 Looking towards entry hallway


 Main living / family room


Looking in through dining windows


Looking in from alfresco


Sideways view of kitchen, looking towards the pantry.
The doorway on the right is the access to the laundry.
Both of these doorways will have cavity sliding doors.


Entertainment room


Left to right - BBQ area / outdoor kitchen, rear garage access, outdoor toilet.

 
 One of the kids' bedrooms (not sure which yet).


 Activity


Hallway


One of the offices, looking towards the office storeroom.  The green wall is the sound-proofed
stud wall, now up in between the two offices.

 
 Garage